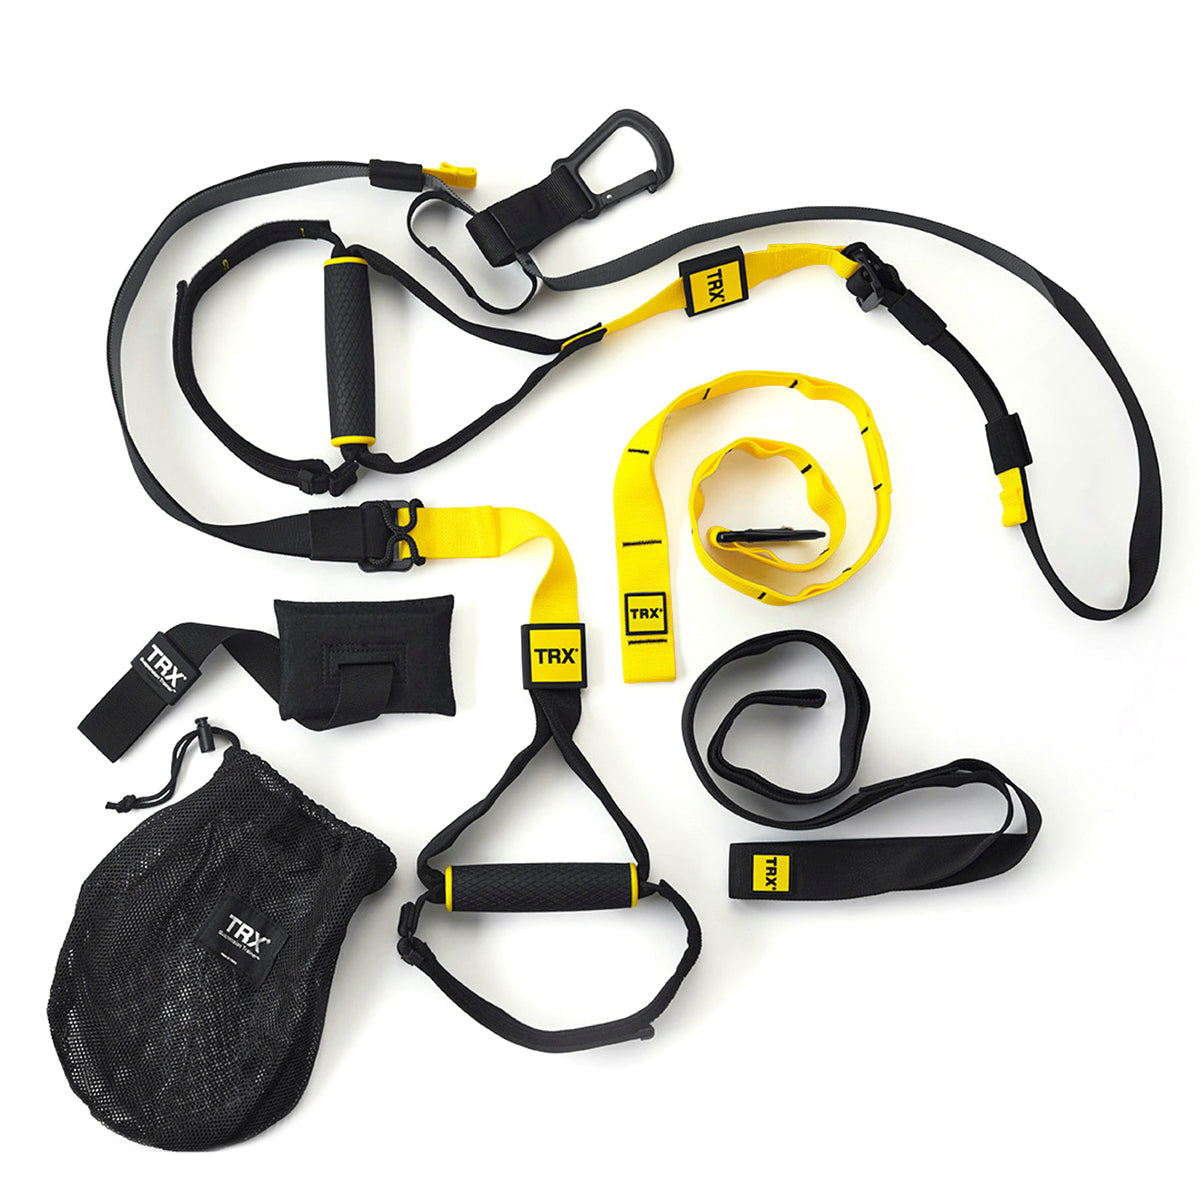
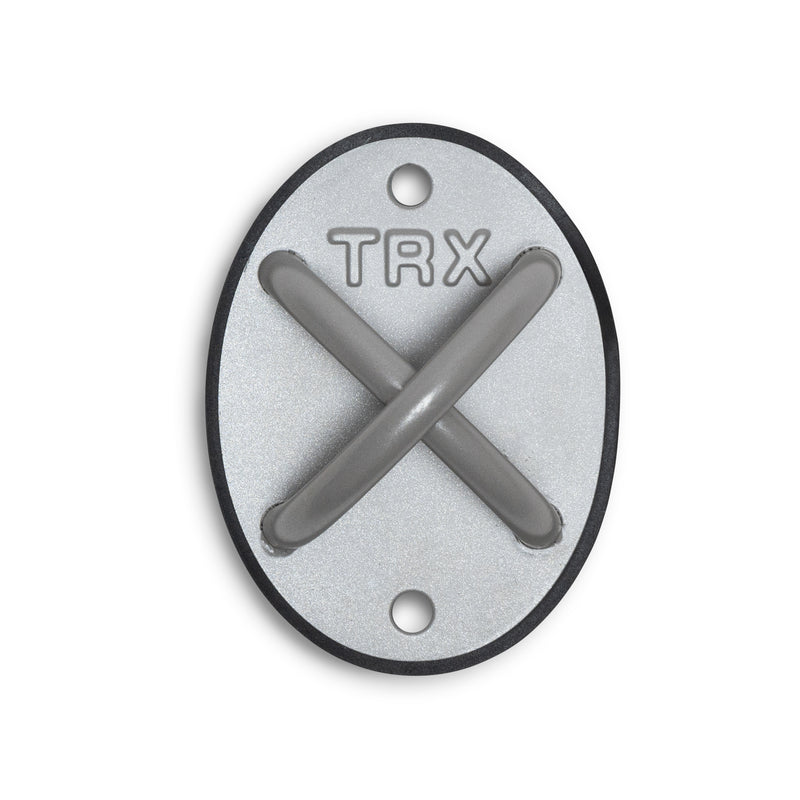
If the thought of permanently affixing your TRX Suspension Trainer to your wall or ceiling makes you a little nervous, you’re not alone. One of the reasons the TRX Suspension Trainers are among the most popular fitness tools in the world is that you’re not required to drill, hammer, or construct anything to use them at home. But, while you don’t need to pull out your toolbox, some people prefer to install a TRX XMount to create an indoor workout space beyond the door frame.
So if you're curious about the specifics, we're here with answers to the most common questions about TRX XMount installation. (Want to find the perfect TRX setup and exercises for your home gym goals? Our quick assessment quiz can create a personalized suspension training plan just for you!) Whether you're mounting in drywall, concrete, or wooden beams, proper installation is crucial for safe and effective workouts.
TAKE OUR TRAINING QUIZ
Do I need to hire a professional?
Maybe. If you’ve never used a drill or a stud finder, or you don’t know the difference between a nail and a screw, there’s no shame in calling a pro to ensure the job’s done right.

Can I anchor my TRX XMount to drywall or plaster?
No. Your TRX XMount must be anchored to a stud to support your weight. Using a standard drywall anchor can destroy your wall and could result in injury. You can install the TRX XMount on concrete, but TRX does not recommend mounting it to brick or cinder block walls.
What tools do I need to install my TRX XMount?
You’ll need a drill with a ¼-inch bit, a stud finder, a ratchet, a pencil, and the included hardware, (two ⅜ inch x 3-inch wood stud lag bolts and two washers). If you’re installing your TRX XMount on a concrete surface, you’ll also need two ⅜ inch x 3-inch concrete lag shields, (sold separately at TRXtraining.com or your local hardware store).
Where should I install my XMount?
The choice is yours! You’ll need to find a stud in your wall, an overhead stud, or an overhead beam that is 7- to 9-feet off the ground. If you’re installing your TRX XMount overhead, position the mount at least 3 feet away from the nearest wall to allow for 360° movement for your favorite TRX exercises.
Does your home have extra high ceilings? You may need to add the TRX Xtender to ensure that your Suspension Trainer isn’t too high. The bottom loop of the Suspension Anchor—that’s the loop the Suspension Trainer carabiner clips into—should be 6 feet from the ground.

Does the TRX XMount come in multiple colors?
Currently, the TRX XMount is available in white or grey, but you can always paint it if you want it to blend more naturally with your wall or ceiling. Because it’s made of steel, plan to prime it first, then finish with a coat or two that matches your wall color.
For more help installing your TRX XMount, watch Zack Van Wagoner demonstrate proper installation in the video below, and be sure to read the installation guide included with your TRX XMount.
Where can I buy an XMount?
You can buy an XMount right below along with the other TRX products you'll need to build the perfect home gym:
Once you've installed your TRX XMount, your suspension trainer will be good to go. Use TRX Training Club to try some suspension-specific workouts:


