In fitness, striving for better strength, endurance, and a well-defined physique is an ongoing effort. While traditional gym equipment and weightlifting are popular for reaching these goals, the growing recognition of bodyweight exercises highlights their effectiveness. This article will explore the benefits of using weighted vests to elevate your workouts, helping you achieve greater cardiovascular health, lean body mass improvements, and overall strength gains.
Advantages of Wearing Weighted Vests
Cardiovascular Benefits
Wearing a weighted vest during exercise can significantly enhance cardiovascular benefits by increasing workout intensity. The added weight forces the body to work harder, resulting in a higher heart rate. This increased demand on the heart and lungs strengthens the cardiovascular system, improving overall endurance and stamina. As the body adapts to the additional load, it becomes more efficient at oxygenating the blood and delivering it to the muscles, thereby enhancing aerobic capacity. Over time, these improvements can lead to better heart health, more effective calorie burning, and greater resilience during physical activities.
Body Mass Benefits
Wearing a weighted vest can help increase lean body mass by promoting muscle growth and fat loss. Even if you’re just walking with a weighted vest, the additional weight creates greater resistance during exercises, compelling the muscles to work harder. This increased effort stimulates muscle hypertrophy, leading to greater muscle mass over time. Furthermore, the heightened intensity of the workout boosts calorie burn, contributing to fat loss. As the body adapts to the added load, it becomes stronger and leaner, resulting in a more toned physique. The combination of muscle growth and fat reduction enhances overall body composition, making weighted vests an effective tool for improving body mass during exercise.
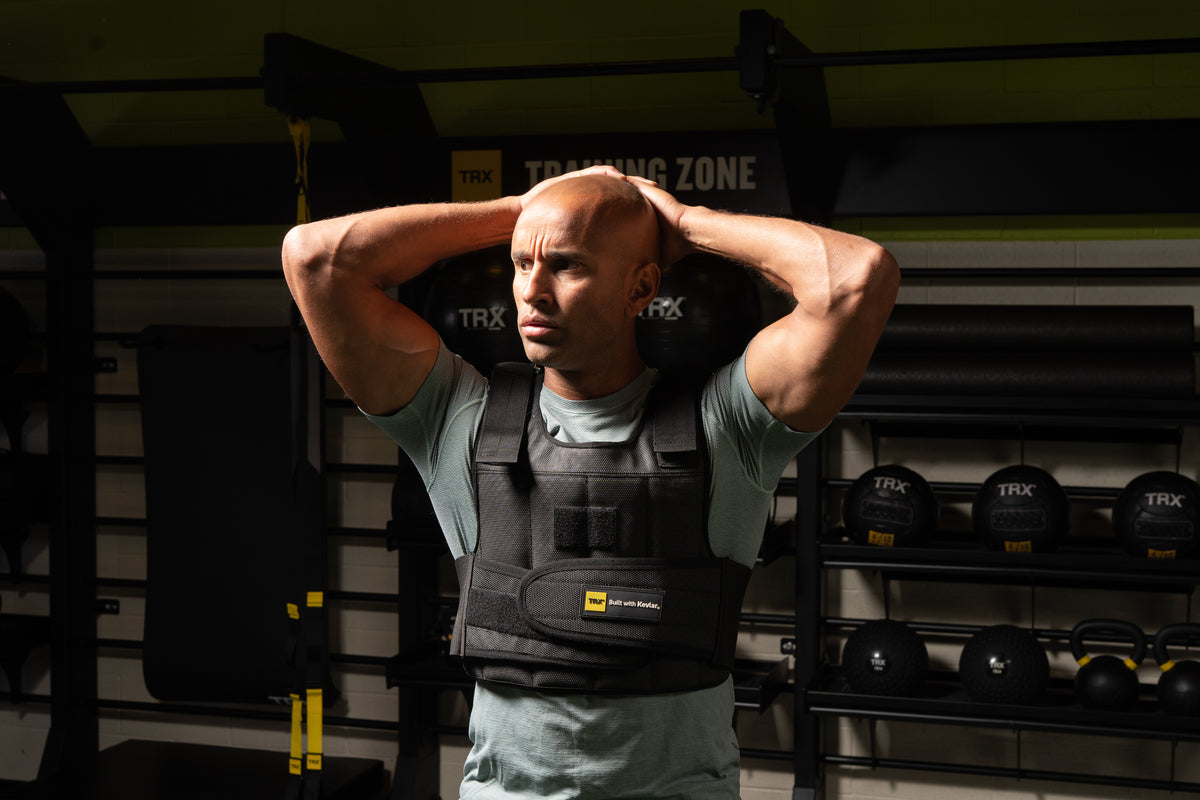
What to Consider When Wearing a Weighted Vest
Safety
An important precaution when using a weighted vest is to avoid the temptation to add more weight than your body can handle, as this may lead to overtraining or injury. For instance, if you regularly run 5 miles a day, four days a week, adding a weighted vest while trying to maintain the same pace and distance can place excessive stress on your body. This strain may result in muscle soreness, chronic pain, or even long-term injuries. To mitigate these risks, it’s advisable to start with a lighter weight than you might expect and gradually increase the load as your body adapts to the additional resistance.
Style
Weighted vests typically come in three main styles: shoulder holster, tactical, and torso-covering, although these names may vary across the industry. Shoulder holster vests resemble hydration packs, featuring a buckle in the front, with weight distributed across the front straps and upper back. Tactical vests are modeled after military body armor and usually incorporate steel plates that slide into the front and back sections for balanced weight distribution. Torso-covering vests, which cover only the chest, are typically secured with Velcro straps. It’s also important to note that some weighted vests are specifically designed to accommodate the female body, taking into account larger chest sizes. These designs aim to enhance comfort by minimizing pressure.
Body Mechanics and Use
Wearing a weighted vest can change how your body moves, so you may need to adjust your posture to avoid strain or injury. It’s important to know why you’re using the vest and how much weight is suitable. For example, if you're running, a lighter vest is better, while a heavier vest may be more appropriate for resistance training aimed at building muscle strength.
Breathability
Weighted vests can retain body heat, which may lead to discomfort in warmer weather and increase the risk of overheating. To address this issue, consider choosing a vest made from moisture-wicking materials or one with built-in ventilation. These features allow heat to escape and sweat to evaporate, helping you stay cooler and safer during your workouts, especially when exercising outdoors.
Incorporating of Resistance
Weighted vests differ in how they provide resistance. Some vests come with a fixed load, with weights sewn directly into the fabric and not adjustable. Others have slots that allow you to add or remove weights as needed, providing greater flexibility for various workouts. Plate-loaded vests often require specialized plates, which can be costly. However, some models accommodate Olympic-style plates, making it more affordable to add resistance.
Before purchasing a weighted vest, consider your purpose for using it, the exercises you plan to do, and your budget. This will help you make an informed decision about which type of weighted vest is best for you.
Comfort
Comfort is also a key consideration when choosing a weighted vest, as some vests can fit poorly and cause skin chafing and irritation. Vests with shoulder pads can help reduce friction and prevent the straps from digging into your shoulders, making them especially beneficial for extended wear. When shopping online, it can be difficult to assess the fit, so checking customer reviews can be valuable. Reviews often offer insights into how well the vest fits and whether users experience issues such as bouncing, chafing, or irritation during use.
How to Use a Weighted Vest for Exercise
Ensuring that your weighted vest fits correctly is key to both comfort and effectiveness. The vest should be snug enough to prevent bouncing while still allowing for free movement of your arms and easy breathing. If you have an adjustable vest, you can customize the weight based on the activity by adding or removing weights as needed.
For those new to using weighted vests, it’s advisable to start with a lighter load than you might expect. You may notice that fatigue sets in more quickly during cardio exercises like running, and you might be able to complete fewer reps in strength training. To maximize the benefits of your weight vest, focus on exercises that involve moving your body through space, such as running, squats, and pull-ups. Incorporating weighted workouts into your routine can enhance your results, as these exercises effectively utilize the added resistance. In contrast, seated exercises like leg presses or lat pulldowns may not engage the vest's full potential.
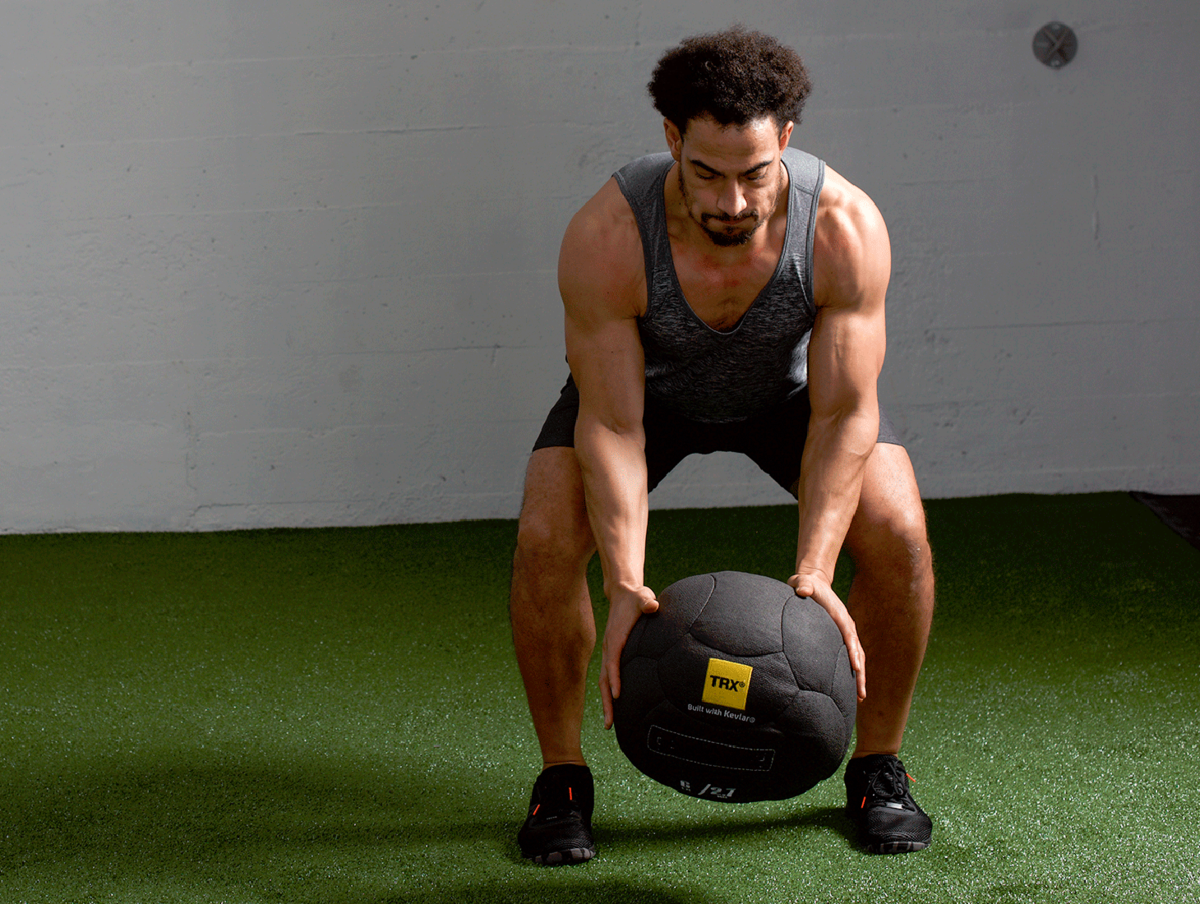
Additionally, be cautious with exercises that could strain your lower back, such as bent-over rows or stiff-leg deadlifts, as the extra weight increases the risk of injury. Your frequency of using the vest should align with your fitness level. If you’re just starting out, 1 to 2 sessions per week is sufficient to allow your body to adjust. More experienced athletes, on the other hand, may safely incorporate the vest into their routine 2 to 3 times per week.
Best Weighted Vest Workouts
Pushups
How to do it:
- Start by lying face down with your hands positioned slightly wider than shoulder-width apart.
- Align your hands with or slightly below your shoulders, spreading your fingers wide and pointing them forward toward your head.
- Tuck your toes and fully extend your knees, lifting them off the ground.
- Engage your core muscles as you push your body upward, ensuring your head, torso, legs, and toes form a straight line.
- Pause briefly at the top, then slowly lower yourself until your chest or chin nearly touches the ground.
- If the vest restricts your chest from reaching low enough, elevate your hands by placing them on sturdy objects, such as 2x4 wooden boards or push-up bars, before repeating the movement.
To add an extra element to this exercise, consider using a suspension trainer and doing a TRX push-up with one of our weight vests.
Pull-ups
How to do it:
- Position your hands at shoulder width or slightly wider on the bar.
- Pull your chest up towards the bar, focusing on squeezing your shoulder blades together.
- Keep your head aligned with your torso and lift your collarbones towards the bar.
- Slowly lower yourself back down.
- If reaching the bar is difficult, try negative pull-ups: start at the top position and lower yourself down slowly and with control.
Front Lunges
How to do it:
- Stand upright with your feet shoulder-width apart.
- Step forward with one foot, slightly further than you would in a typical stride.
- Keep your front foot flat and your torso upright as you bend both knees and lower yourself toward the ground.
- As you descend, allow your back knee to bend while your back heel lifts, ensuring your heel stays aligned with your toes.
- Push off from your front foot to return to the starting position.
- Repeat the movement with the opposite leg.
Planks
How to do it:
- Start on your hands and knees, with your hands directly below your shoulders and your knees directly below your hips.
- Open your fingers wide, ensuring they point forward.
- Step your right leg back, straightening it with your toes curled on the ground.
- Step your left leg back, straightening it with your toes curled on the ground.
- Tighten your core muscles, keeping your head, torso, legs, and toes in a straight line. Avoid sinking between your shoulders and lower back, as this alignment becomes more challenging with a weighted vest.
Squats
How to do it:
- Stand with your feet shoulder-width apart or slightly wider.
- While maintaining a flat back, bend at your hips and knees to lower your body, mimicking the motion of sitting in a chair.
- Lower yourself until your thighs are parallel to the ground. Engage your thighs and glutes to push back up to the standing position.
- Keep your center of gravity between your heels and the balls of your feet, ideally just in front of your ankles. Ensure your heels remain firmly on the ground throughout the exercise.
- Maintain an upright torso as you descend. At the bottom of the squat, your shoulders, knees, and toes should be aligned.
Dips
How to do it:
- Locate parallel bars or a dip station.
- Grip the bars with your palms facing down, keeping your arms fully extended.
- Lower your body by bending your elbows until your upper arms are parallel to the floor, keeping your elbows close to your body.
- Press through your palms to straighten your arms and return to the starting position.
Russian Twists
How to do it:
- Sit on the ground with your knees bent and feet flat.
- Lean back slightly while keeping your back straight and your core engaged.
- Lift your feet off the ground, balancing on your glutes.
- Rotate your torso to one side, avoiding any movement in your hips or legs.
- Return to the center and twist to the opposite side.
Step-Ups
How to do it:
- Find a sturdy surface like a bench or box.
- Stand facing the bench or box.
- Step one foot onto the surface, driving through your heel to lift your body upward.
- Fully extend your hip and knee as you reach the top of the bench or box.
- Lower yourself back down by stepping with the same foot that was last to leave the ground.
- Perform the desired number of repetitions on one leg, then switch to the other leg.
Hanging Leg Raises
How to do it:
- Locate a pull-up bar or a sturdy overhead structure.
- Hang from the bar with your arms fully extended, wearing your weighted vest.
- Keep your legs straight and together.
- Engage your core muscles to lift your legs upward, aiming to bring them close to a 90-degree angle.
- Lower your legs back down in a controlled manner.
Bicycle Crunches
How to do it:
- Lie on your back with your hands behind your head, wearing the weighted vest.
- Lift your head, shoulders, and upper back off the ground.
- Bend one knee and twist your torso to bring the opposite elbow toward the bent knee.
- Straighten the bent leg while bending the other knee, twisting to the opposite side.
- Alternate sides in a pedaling motion
Conclusion
Weighted vests can increase the intensity of various exercises, effectively enhancing calorie expenditure, strength, and endurance. With many styles available on the market, choose one that aligns with your specific goals and preferences. To ensure a challenging yet safe workout, start with a lighter weight and gradually increase it as your body adapts.